Our Blog: November 7, 2023
- 877.684.1613
- Schedule a Tour

November marks Native American Heritage Month. We encourage you and your family to take this time to honor the lasting traditions and rich history of Native Americans. The influences, achievements, and historical challenges of our nation’s original inhabitants merit being recognized and protected.
You can explore the contributions of indigenous people and their descendants by being curious about their cultures, foods, crafts, art styles, and more.
We’ve provided a few resources to put you on a path of discovery:
- Read along with us as we explore rich stories
- Create a hand drum and move to the beat
- Make Three Sisters Soup to savor the late harvest
Traditional Storytelling
Native Americans have a rich tradition of storytelling within their tribes and communities. Stories can expand our knowledge and perspective while helping to develop imagination, support emotional learning, and broaden listening skills. Find a cozy spot and click on these links to embrace the visual elements of storytelling:
- The Turtle Story: A Native American Account of Earthquakes
- Discover How to Be Strong (a Native American folktale)
- The First Fire by Robert Lewis, a Cherokee storyteller
- Leelinau - A Fairy Girl (a story from the Chippewa tribe)
We’ve also selected a few picture books to share different layers of Native American culture and language. These stories include lighthearted reflections of families, joy, and gratitude:
- Wild Berries by Julie Flett (Read Aloud)
- Little You by Richard Van Camp (Read Aloud)
- My Heart Fills With Happiness by Monique Gray Smith (Read Aloud)
What books would you add to the list? Support indigenous authors by browsing your favorite community bookstore or asking questions at your local library. When you find something you especially like or relate to, pass it on to keep the thread of generational storytelling going strong.
Make Your Own Hand Drum
Using recycled materials, we’re going to show you how you can make your own hand drum. The instrument is one of the most common types of Native American drums and is often used at community gatherings to enhance singing and dancing performances. The sound of the hand drum is said to represent the spirit and voices of ancestors. Traditionally, drums feature rawhide stretched over hollowed logs or other hand-crafted frames.
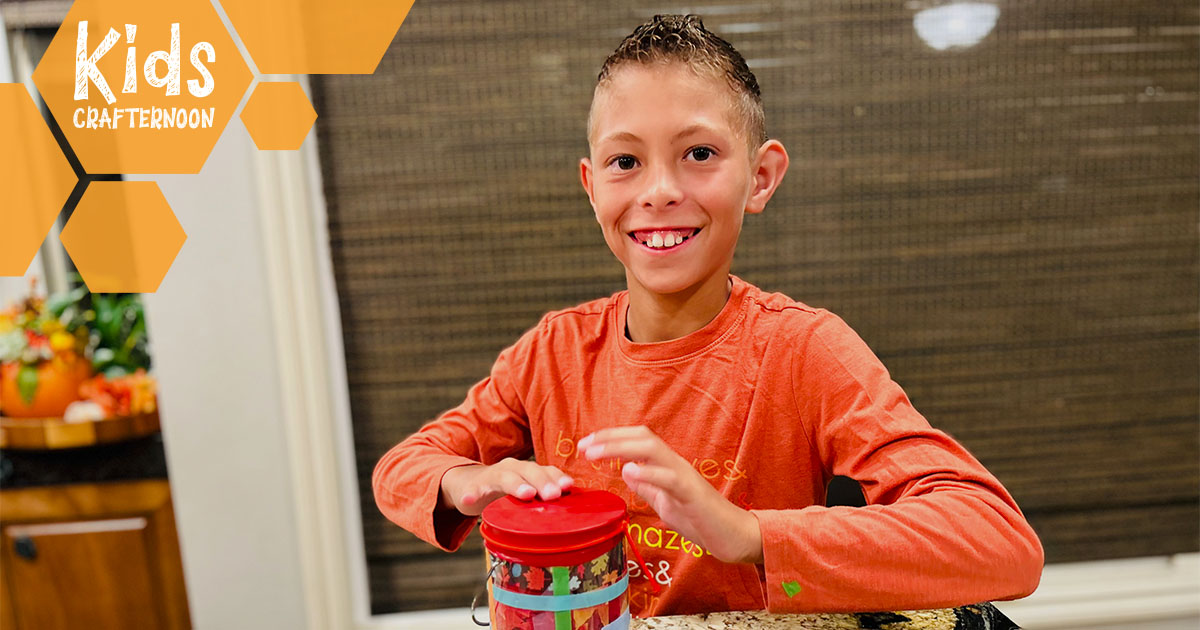
To make your own hand drum, we’re going to keep it simple by using common items you likely already have in your home. Our friend, Thiago Atler (9), shows us how it’s done. He’s the son of Kristina Atler, an Education Specialist for the Learning Care Group family. Watch his craft experience and then gather your own supplies.
You’ll need these things:
- Empty cylinder
- Balloon or wax paper*
- Rubber band or ribbon*
- Craft paper
- Glue or tape
- Markers
- Scissors
Choose your drum base. Because metal cans often have sharp edges, we recommend using an empty cylinder of some sort. Try a plastic jar or coffee container, a cardboard oats container, a plastic pail, or any other upcycled item that has a circular shape and an open top. Different shapes, sizes, and materials will also create different sounds!
Design the outside. Wrap a piece of craft paper around the cylinder and help your child cut it to fit. You can use construction paper, scrapbooking paper, or even plain white computer paper. Use glue or tape to secure it around the can.
Pro tips for decorating: Thiago had a clear container, so he was able to slip his paper down inside the tube. He used washi tape to decorate the outside. Be creative! Encourage your child to personalize their drum. Draw simple shapes, colors, or patterns or try more complex scenes!
Create the top surface. This step is easier with two people! Cut the end off the balloon to increase its stretching potential. Discard this piece immediately. One person holds the container tightly, while the other stretches the balloon across the opening to create a flexible lid. Secure it with a rubber band.
*For younger children: You can use alternative supplies like wax or parchment paper to create the top. You could also skip the rubber band and tape the top layer down instead. If you’d like, you can glue on a ribbon to give it a finished look.
Make some music! Try using your hands or other music-makers to create sound by tapping the top of your drum. Does the tone change depending on what you use or where you hit it? Make up a song to go with the beat using words, sounds, or hummed rhythms.
Watch these videos to see Native American hand drums being used in traditional settings:
Seasonal Harvest
Research which Native Americans historically resided in the state or community where you live to learn more about their local influences on the land. Honor their legacy by planting a garden that includes some of the crops known to the tribe or region.
Indigenous people were stewards of the land and poured their all into creating a healthy harvest. Start planning for spring with seeds from squash, corn, beans, or potatoes.
To embrace the flavors of well-tended crops, we’re sharing a traditional Native American recipe known as Three Sisters Soup. It’s a perfect addition to the season of gratitude. Whether you use fresh ingredients or pantry staples, it’s filled with nourishing goodness to support your family through the winter season.
Ingredients:
- 1 ½ Tbsp. vegetable oil
- ¾ cup diced carrot
- 1 cup chopped onion
- 3 cloves garlic, minced
- 2 cups diced squash (fresh or frozen)
- 1 ½ cups fresh corn (or 15 oz. can, drained and rinsed)
- 1 ½ cups cooked beans, any type (or 15 oz. can)
- 1 can diced tomatoes (or 15 oz. fresh)
- 3 ½ cups of low-sodium broth
- 1 tsp. cumin
- 1 tsp. pepper
Directions:
Heat oil in a large pot on medium heat. Add carrot and onion. Cook until onions begin to turn a little brown, about 8 to 10 minutes.
Add garlic, squash, and corn. Continue to stir for another 3 to 4 minutes.
Add beans, tomatoes, broth, cumin, and pepper.
Allow soup to come to a boil, then turn heat down to a simmer until all vegetables are tender. This will take about 15 to 30 minutes, depending on the vegetables used.
Serve immediately and enjoy. Refrigerate leftovers within 2 hours.
Recipe adapted from Food Hero.